How to Plan a Trip With Google Maps – Plan Like a Pro
When we first started to travel, the planning around the trip always got super messy. Between saving all the attractions, figuring out the route and remembering all the restaurants we wanted to try, we always ended up with hundreds of screenshots and half finished spreadsheets. But then we discovered Google My Maps. This is a free, customizable travel planner where you can pin all locations, organize everyhthing how you want, plan the route and share it between each other. In this guide, we will show you exactly how to plan your trip with Google Maps. We’ll teach you how to add pins and layers, organize your route and access your map on any device (note: you can view maps on your phone, but to fully create or edit a map you need a computer). We’ve also created a free map highlighting the top places to visit in Costa Rica, just to get you started.
Just so you know: This post may contain affiliate links. That means we might earn a small commission if you book or buy something through the links – at no extra cost to you. It helps us keep sharing travel tips for budget adventures!
Why Google Maps is Perfect for Planning a Trip
Google My Maps is a perfect travel planning tool because you can save everything in one place. By saving the places you want to visit, like hotels, restaurants, and attractions, and adding them into layers by day or activity, organizing your trip gets much easier. Google My Maps is also accessible both online and offline, plus you can share it with all your travel companions.
Top Google My Maps Features for Planning Your trip:
- Custom Travel Maps: Pin hotels, restaurants, attractions, and other must-see places to create a map tailored to your trip.
- Organize with Layers: Organize locations by day, activity, or category to plan your itinerary easily.
- Google Integration: Sync your map with Google Calendar, Sheets, and Photos for easy trip organization.
- Offline Map Access: Save your maps to access directions and locations anywhere, even without Wi-Fi.
- Share and Collaborate: Let friends or family view and edit your map for group trips.
- Multi-Stop Route Planning: Optimize travel time between attractions and plan the perfect route.
- Add Notes & Labels: Keep reminders, ticket info, or personal tips for each pinned location.
By using Google My Maps, you can see your entire trip in one view, plan everything more easily, and skip the stress of last-minute planning.
How to Plan a Trip with Google Maps: Step-by-Step Guide
Step 1: Set Up Your Google Map
- Go to Google My Maps.
- Sign in with your Google account.
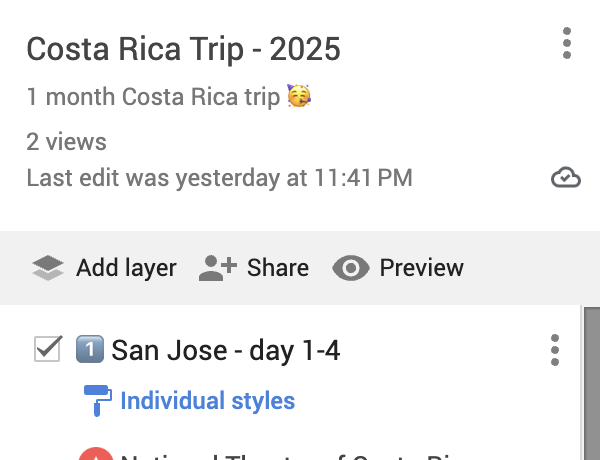
- Click the button saying “Create a New Map”.
- Give your map a title (like “Trip to Costa Rica”).
- If you want, you can add notes to the map like dates etc.


Step 2: Add Pins and Locations
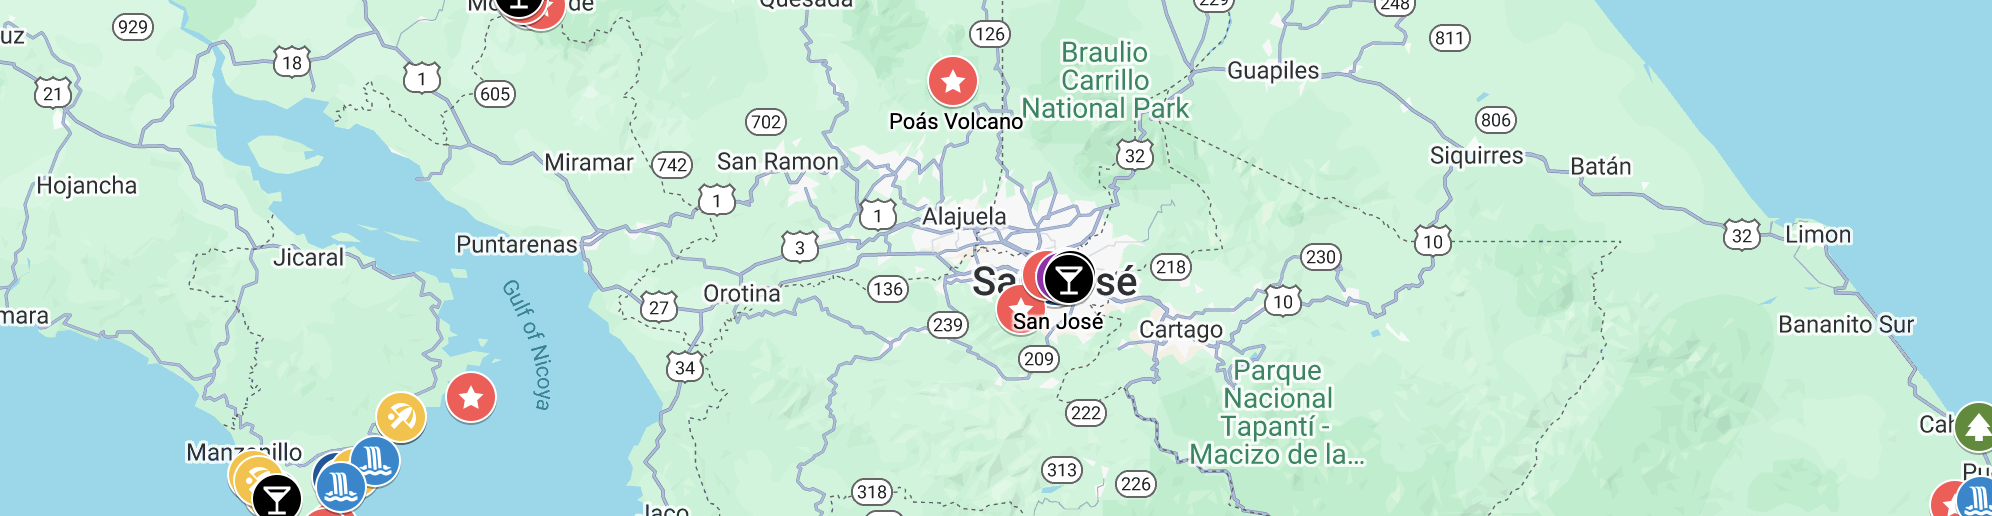
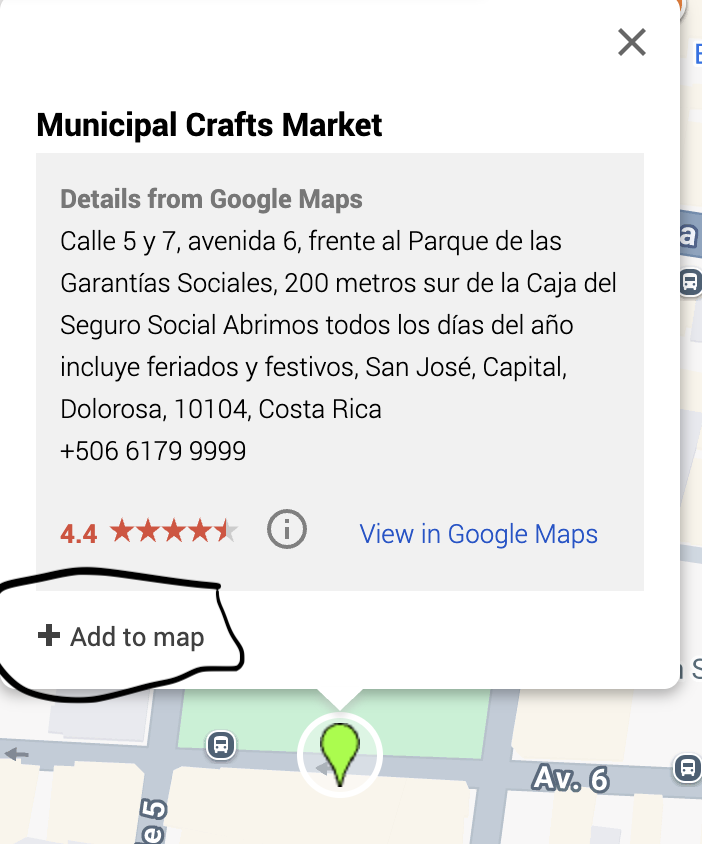
Once you have the map, it’s time to add pins that you want to save. Here you can save different locations like “San Jose” and add attractions or restaurants etc. Here you can also choose the icon and color of the different pins to keep it organized.
- Search for a location in the search bar.
- Click “Add to map” to drop a pin.
- Repeat for all destinations, attractions, accommodations etc.
Tips for Pin Management:
- Use color-coded pins with icons for different categories (like red star = activities, purple shopping bag = shopping / stores)
- Add notes for reminders, like “buy tickets online” or link to the ticket page etc.

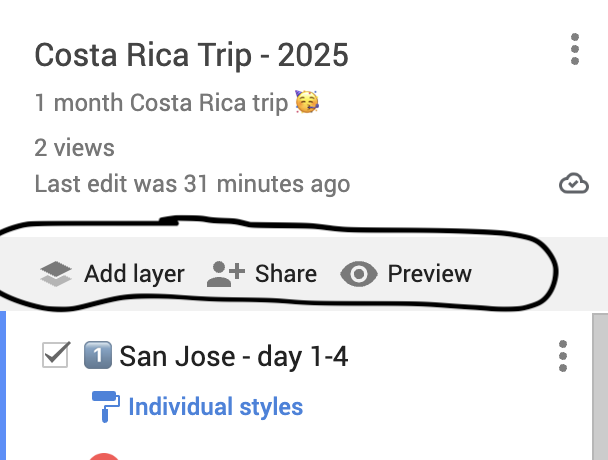
Step 3: Organize Your Map with Layers
Layers are like folders for your pins. They help you organize your trip by day, city, or type of activity etc.
- Click “Add Layer”.
- Name layers how you want, ex day 1-4, hotels, city etc.
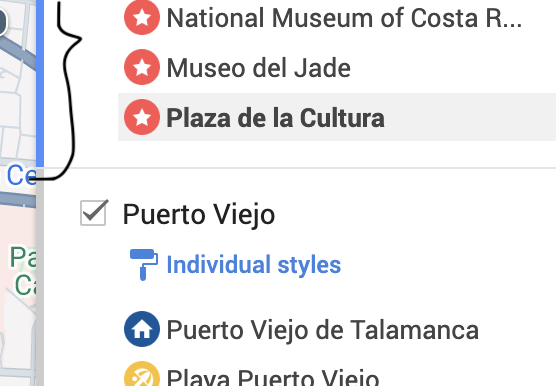
Tip: The blue line on the left on the right picture shows which layer that currently is active. Any new place you search and add will automatically be saved into that layer. For example, if Puerto Viejo has the blue line, new pins will go there. To add a pin to another layer, just click that layer first to switch the blue highlight.
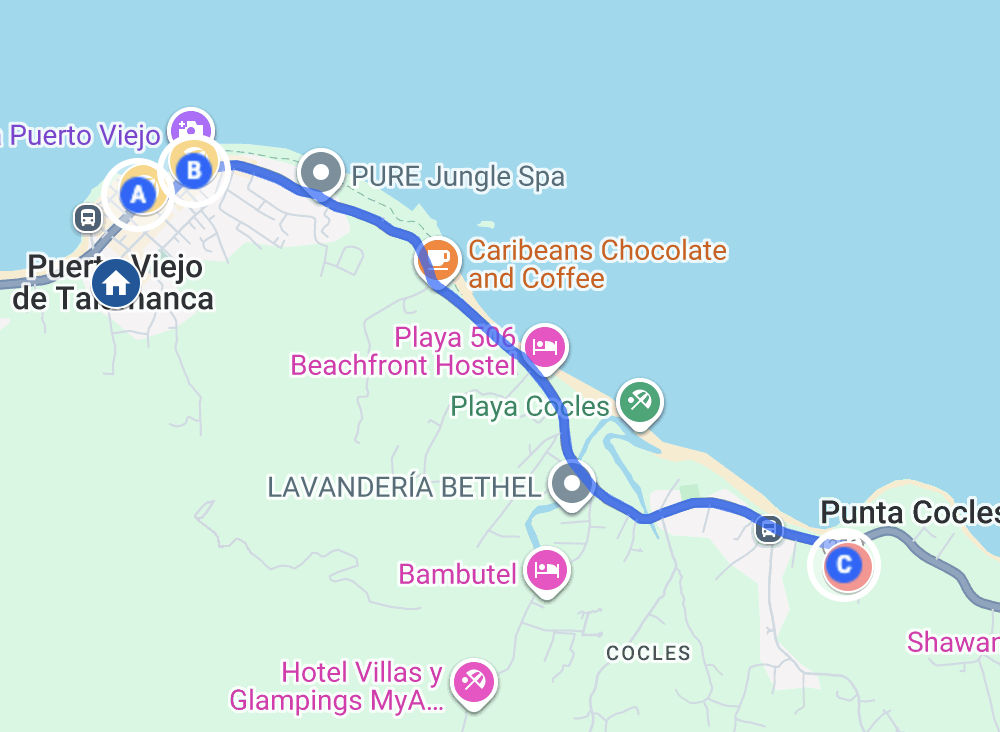
Step 4: Plan Your Itinerary
Once you have all your pins and layers done, you can start planning the route for your trip. This is where your map comes to life, as you connect the dots between your saved places and figure out the most logical way to travel. This will give you an idea of how much time you’ll spend traveling versus exploring each destination.
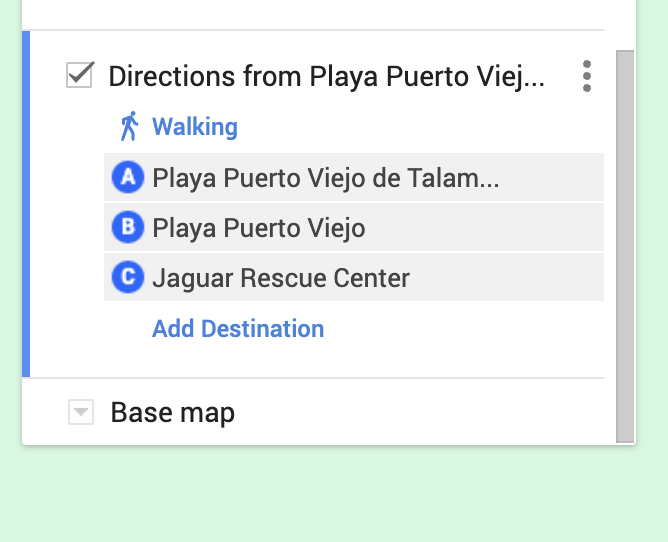
- Click the “Directions” button (the arrow icon) in the toolbar. This creates a new “Directions layer.”
- In the new layer, enter your starting point and destination by typing the names of the pinned places or by picking the pin on the map.
- My Maps will then draw a route between the points and show an overview of the route. You can also see the estimated travel time and distance by clicking the route’s three-dot menu and selecting “Directions.”
- Add more stops by clicking “Add Destination” and selecting from your saved pins.
- Reorder your stops in the directions list by dragging them to plan the order you’ll visit each spot.
Route Planning Tips:
- Arrange nearby attractions together in your route to save time and skip unnecessary back-and-forth travel.
- Keep in mind that Google My Maps only shows rough travel time estimates. For real-time traffic and more accurate timing, check your route in the regular Google Maps.
Step 5: Share and Access Your Map Anywhere
Once your map is done, you can share it with your travel companions via link or email. You can also access it from your phone or tablet while exploring, so you always know your plans. To use it offline, make sure to download the map for offline access in Google My Maps.
- Share your map via email, social media, or link.
- Access it on your phone or tablet through the Google My Maps app under Saved > Maps.
- To use it offline, download the map first so you can access your itinerary without internet.
Tip: Plan your trip together by giving access to your map so everyone in your group can contribute to the itinerary.
Smart Travel Planning Tips
- Sync with Google Calendar – Add your trip events and link them to locations on your map.
- Use Google Sheets – Keep track of your budget, tickets, and important confirmations in one place. For tips on saving money before your trip, check out our how to save for vacation guide.
- Go Offline – Download maps ahead of time if you’ll be in areas with poor reception.
- Color Code Smartly – Use colors to quickly spot your must-see places and priorities.
- Add Notes – Save details like opening hours, ticket prices, or little reminders directly to your pins.
- Test Your Route – Check travel times before your trip to make sure your itinerary feels realistic.
Common Mistakes to Avoid
- Too many layers or pins – Keep it simple. Overloading your map can make it hard to read while you’re on the move.
- Not checking travel times – Keep in mind that Google My Maps travel times are only rough estimates. Checking actual time, distances and planning extra time helps you avoid rushing or missing attractions.
- Ignoring offline access – Download your map so you can easily see it on the go, even without a connection.
- Not sharing maps with travel companions – Share your map so the whole group can stay on the same page and help plan the trip.
- Forgetting to label pins clearly – Clear labels make it easy to navigate and find your spots while exploring.
Conclusion
With Google My Maps as your travel planner, the planning gets easier and more organized. You can clearly see the places you want to visit, and deciding your route becomes much clearer. Using these steps will help you enjoy your trip more without missing out on places. Sharing the trip with your travel companions also makes planning more fun and lets everyone contribute more easily.
To get started, we’ve created a free map of Costa Rica with top must-see spots and activities. Enter your email to receive the link and start exploring.
Download Your Free Costa Rica Travel Map
FAQ
No, you can view your map on your phone but to edit or create a map you need a computer.
Yes! Google My Maps is great for creating your own custom travel maps, but there is a lot of other options that make the planning more simple and quick.
One popular tool, mostly limited for trips around the US, Canada, Australia, and New Zealand is Roadtrippers, which saves time, keeps everything organized, and makes it easy to spot attractions you might otherwise miss. Use promo code BTR5QTP at checkout to get $5 off your subscription.
Other good options that offer free plans are Wanderlog, TripIt, and Mapstr, which can all help you keep your trip organized and make planning much easier.